Cowl Patch
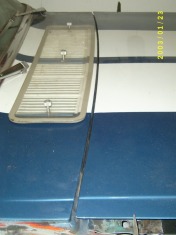
Every classic mustang owner hates this part of there mustangs. Basically this part of the car was made to rust. The Cowl is the area in front of the windshield that draws in air for the heater/ac systems and for the floor air vents. The problem with this is that this 'internal' area under the dash is not protected and water can sit in there and eat away. Then water drips to the floor boards and eats some more. Then into the frame rails, etc.
Ok. I was hoping to get the body work done on this car this summer but my plans changed. Because of that I needed to get my car back together. Now that getting the car back on the road, even though the body doesn't look very good, I figured that I could at least make sure the interior will look good. To do that I figured I needed to do something about the badly leaking cowls. I also want to be sure that all my recent work on replacing the floor pans does not go to waste.
Before I get into how I did this 'TEMPORARY FIX' please understand that I personally believe that there is really only one way to do this right. That is the process of removing the windshield, the cowl cover, and the replace the cowl. Then put it all back together again. So before I get a pile of emails telling me I am crazy (yes, I get a few emails from this site) please remember that this is a temporary fix and I plan on doing the 'right' fix when I get the time and funds to do the body work and paint.
I have done a lot of reading about how different folks have done this on there cars. One fix is to use the plastic caps that you can get at any mustang vendor. I have a set of these plastic caps. They go up into the cowl from inside the car but I don't think they will work on the drivers side of the car. There is just to much rust damage there.
A restomod way to do it is to cut the cowl grill (what you see in front of the winshield) out and put in a nice flat piece of sheet metal. When you are done it is like the cowl was never there in the first place.
Another fix is to cut access holes either on top of the cowl or on the sides. This gives you some access room to do what you need to do to get the cowl fixed.
I have enough 'ugly' on my car so I decided to go with the access holes on the side of the cowl. I figured I could weld them up and hide the work with the fenders. So if my patch fails I am no worse off than I was before I started.
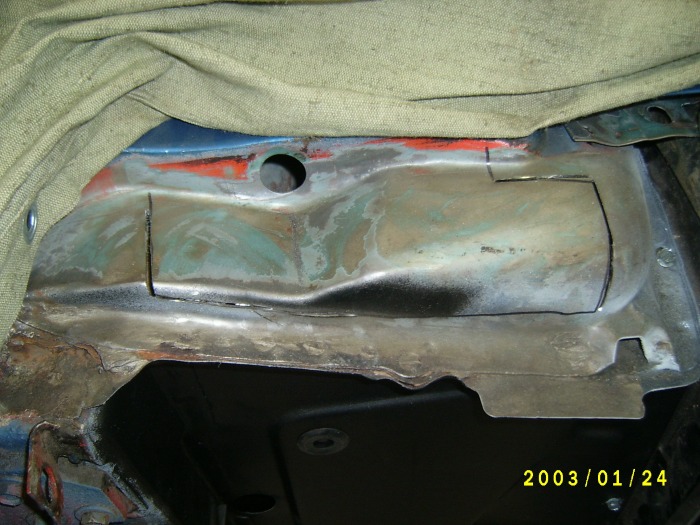
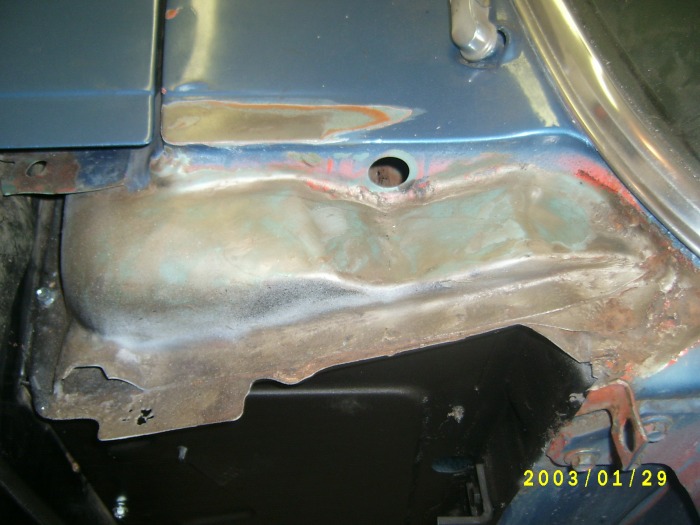
Passenger side
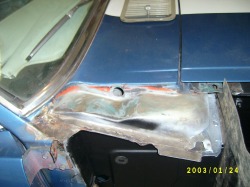
I just happen to have the fenders off as part of the other projects I have been doing and I wanted to do this before I put them back on. I also got a little lucky on the passenger side. Near as I can tell I didn't have any leaks on this side. Just some surface rust or maybe some pin holes at best.
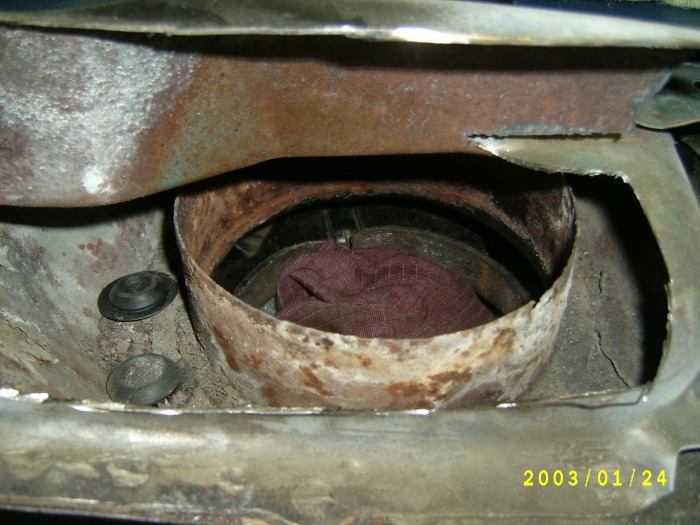
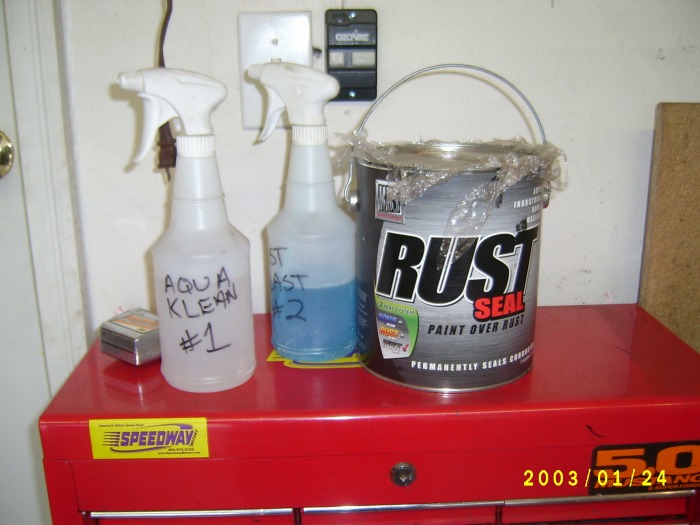
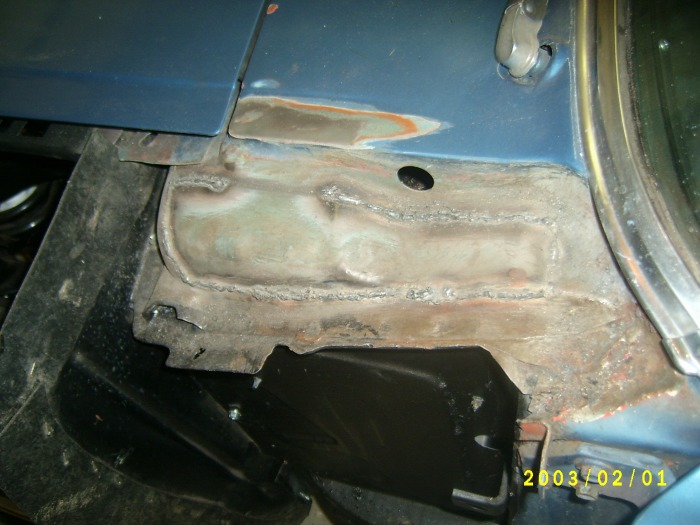
First thing I did was draw a line as a guide to cut the access hole. Then I made the cuts with my 4" cutter and flipped up the panel. This gave me a pretty good view of the passenger side of the cowl. I have enough room to get my hand in there and clean things up. I even got the hose of my shop vac in there. I stuffed a rag into the opening of my heater box after carefully dropping it a couple of inches and removing the seat. Then I used my KBS Rust Seal Epoxy to coat it all up. This is the same material I used on my floor pans. Once that dried, I pulled dow the lid and did my best to weld it up. Painted the lid with some Rustoleum. Don't look to bad.


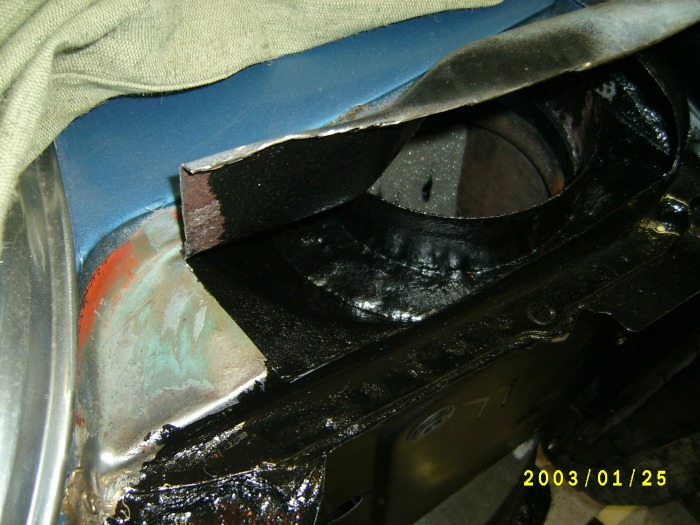
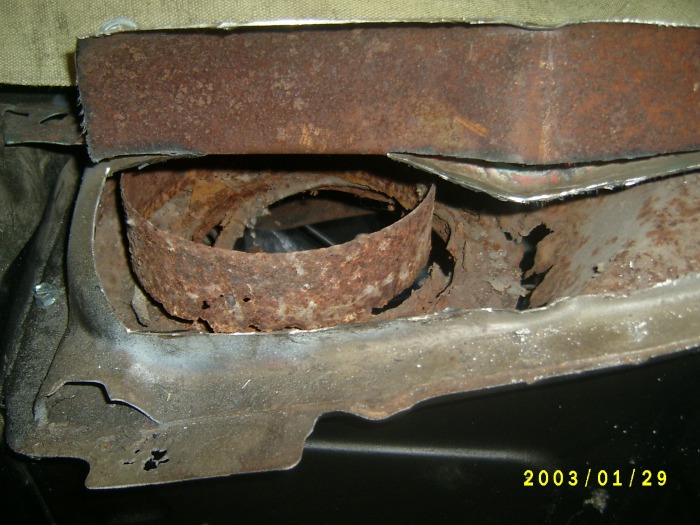
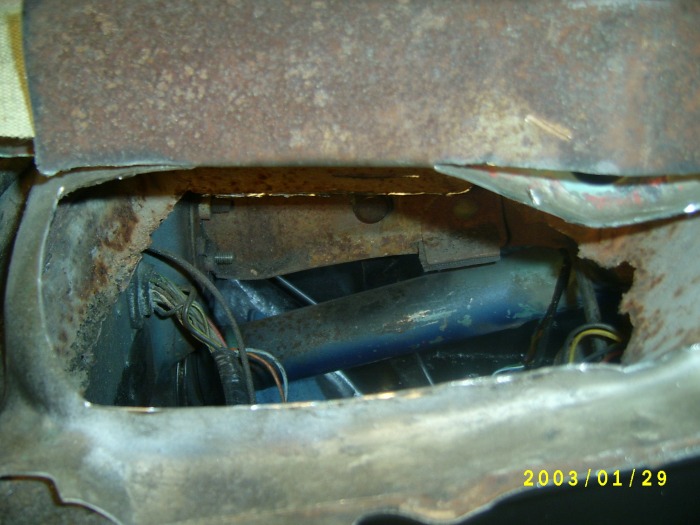
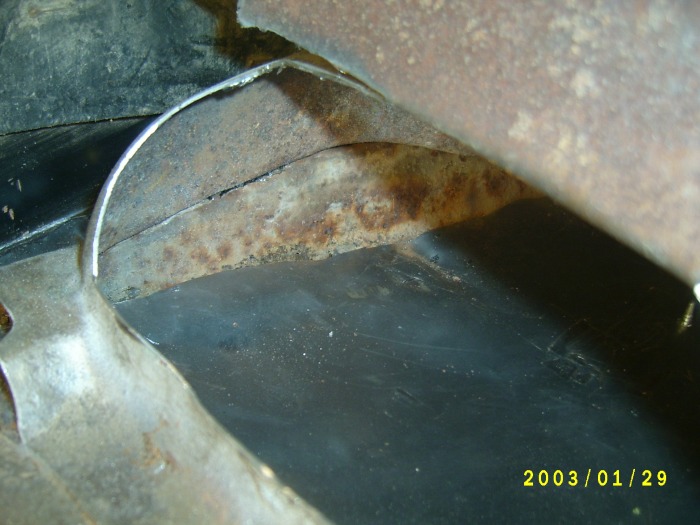
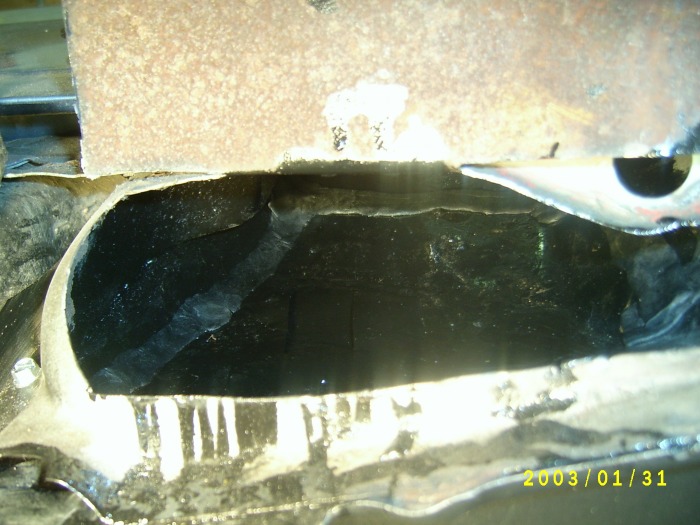
Drivers Side

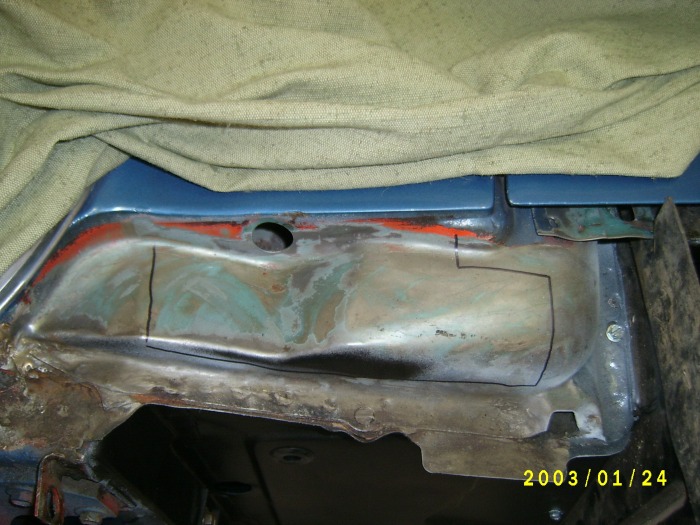
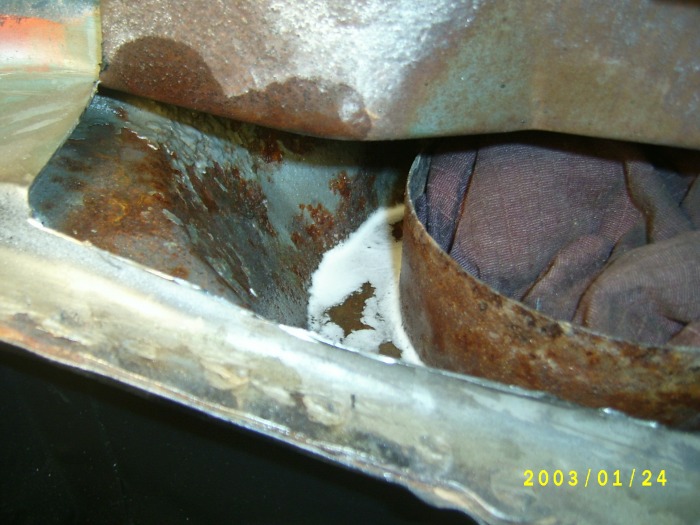
I took the same approach on the drivers side but I was not as lucky. Like I mentioned before, I had some pretty good rust damage on the drivers side.
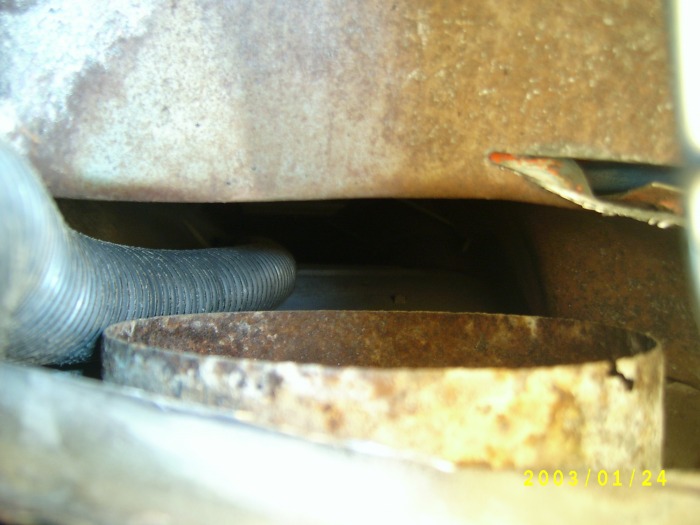
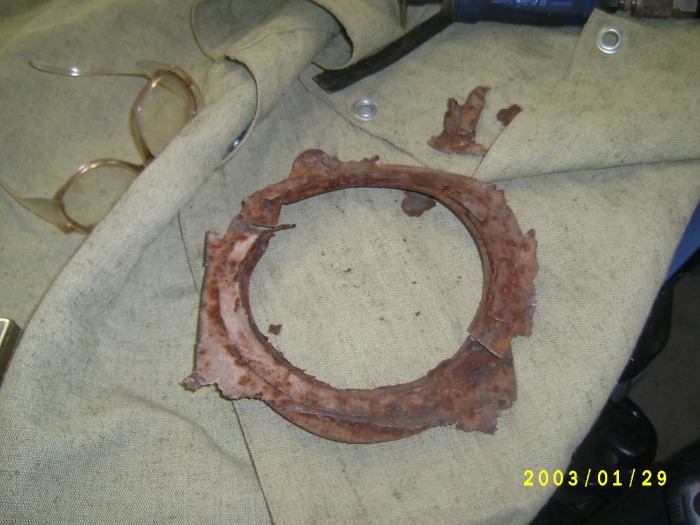
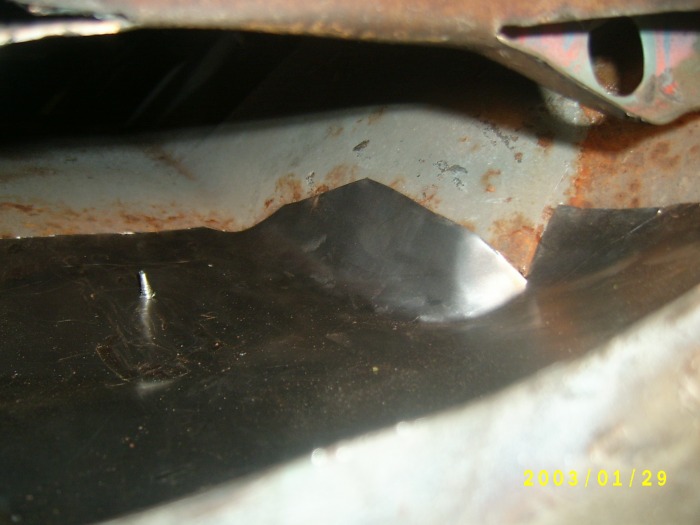
Once I got the access panel cut open I was able to reach in and by hand remove the cowl rim. After I pulled out what I could by hand I used some tin snips and trimmed out as much nasty rust as I could. Then I made a decision. I decided that at least for now I didn't need the air vent the blows down on the drivers feet. This decision was a easy one to make for two reasons. One, the foot air vent was completely rusted out. Two I wasn't sure how I could patch this and still use the vent.
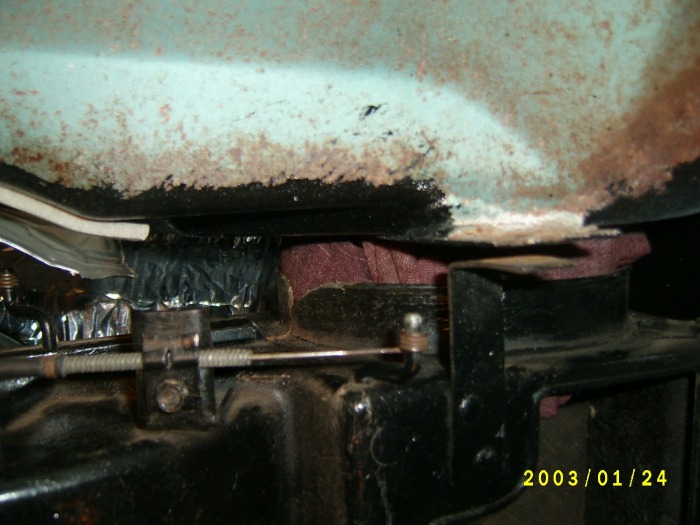
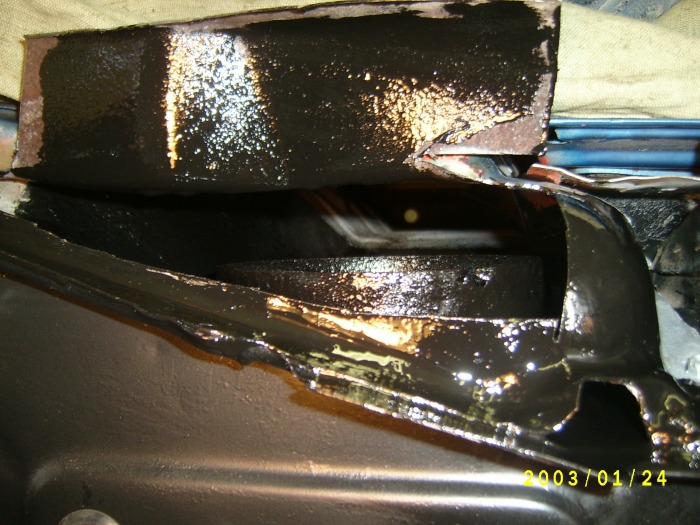
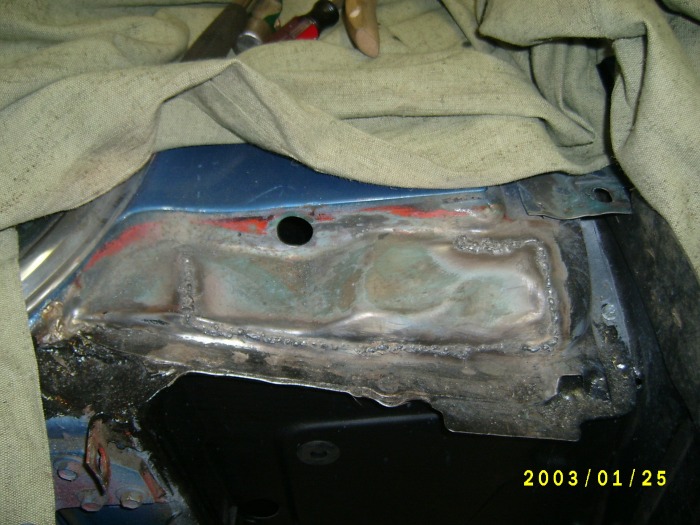
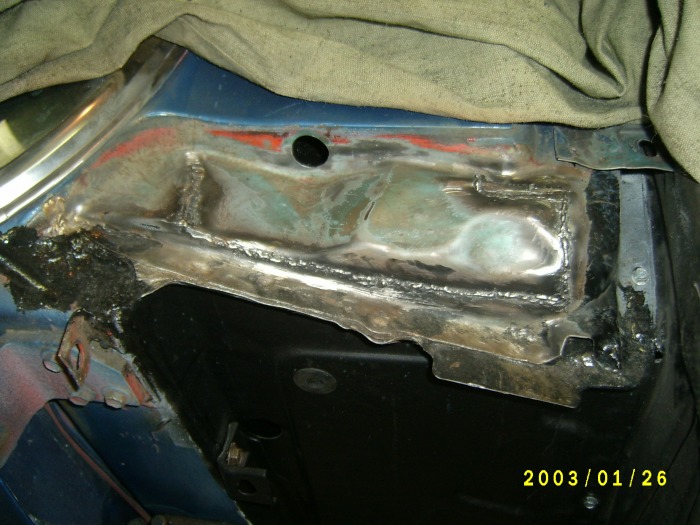
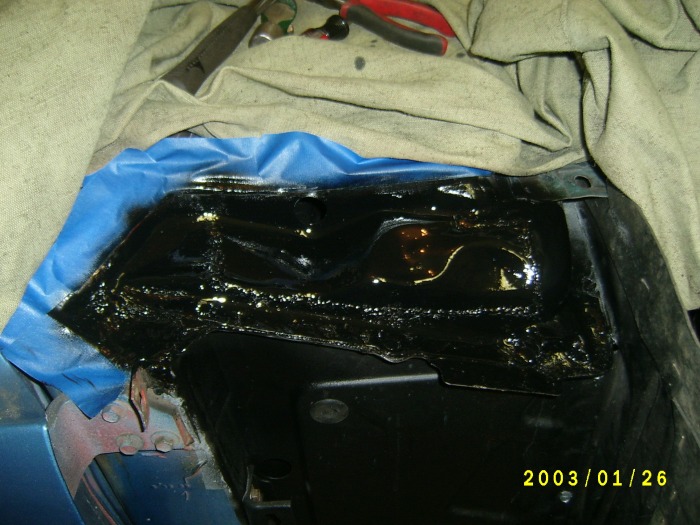
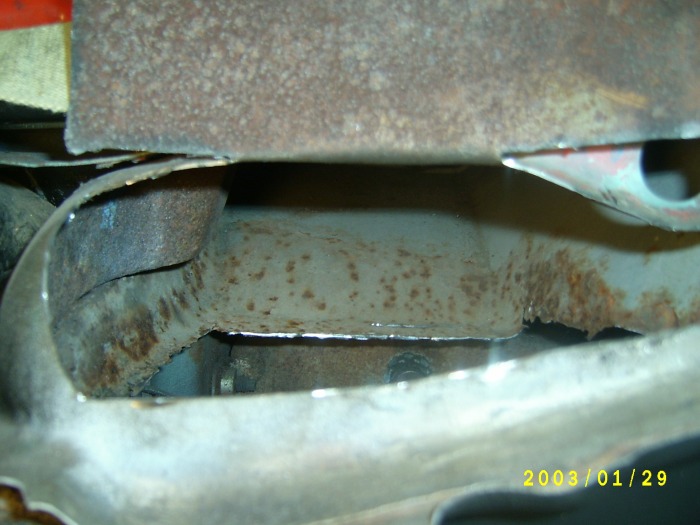
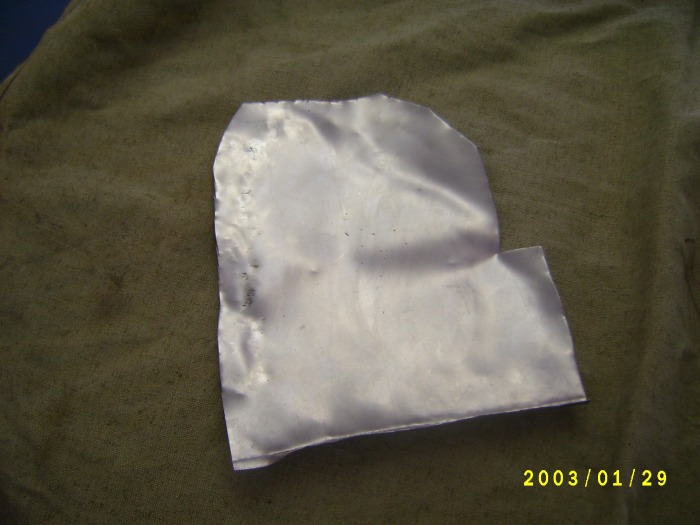
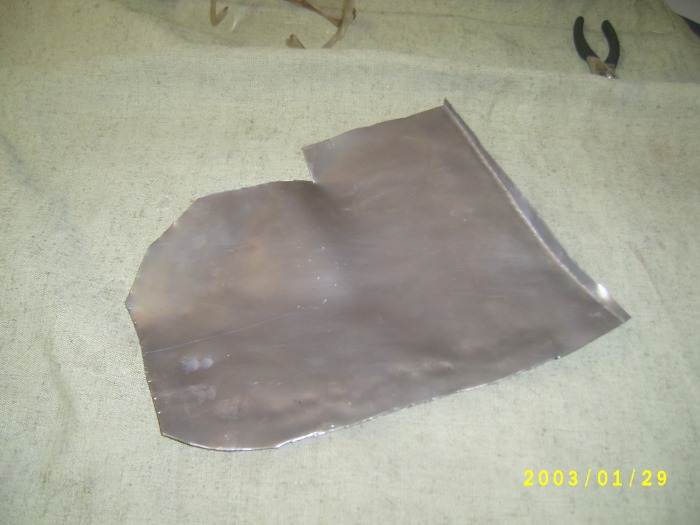
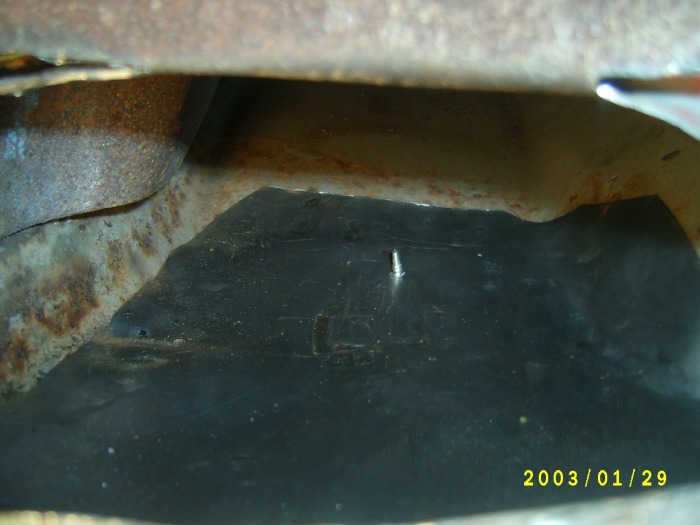
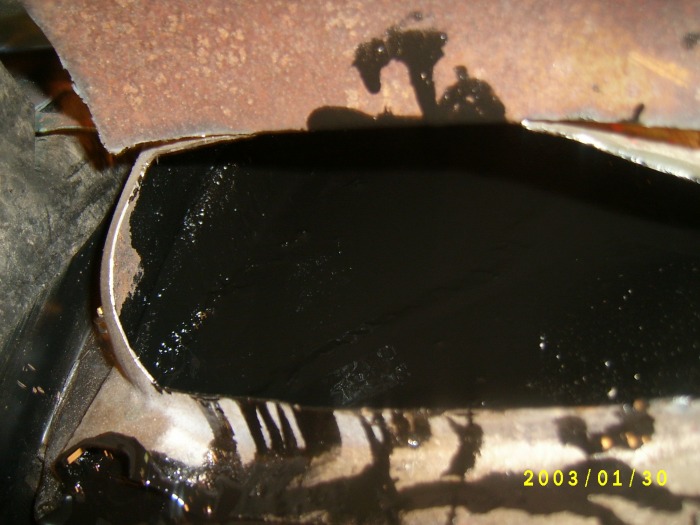
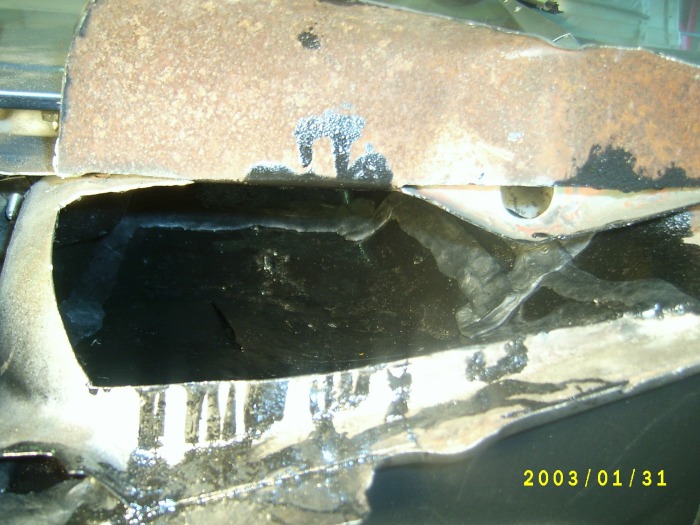
Now I have a real challenge. I took some scrap sheet metal that I had in the garage and started to cut it to shape. This took a little while to do. I would shape it with a hammer and my vise then fit. Trim, then fit. Repeated until I had something I was happy with. Then I put this in place and secured it with a couple of self tapping sheet metal screws to pull it as tight as I could to the existing cowl. Then I applied the KBS Rust Seal and allowed it to dry. I still have the seam or edge of the patch to deal with. This will leak I am sure, so I used some seal sealer along the edges to finish the patch off.
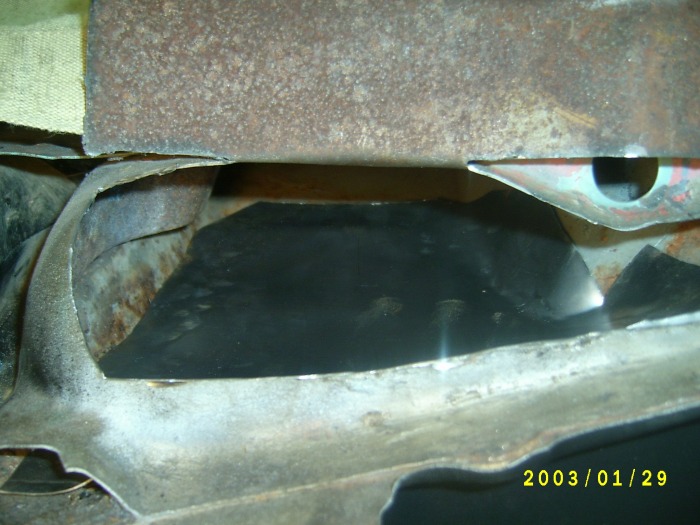

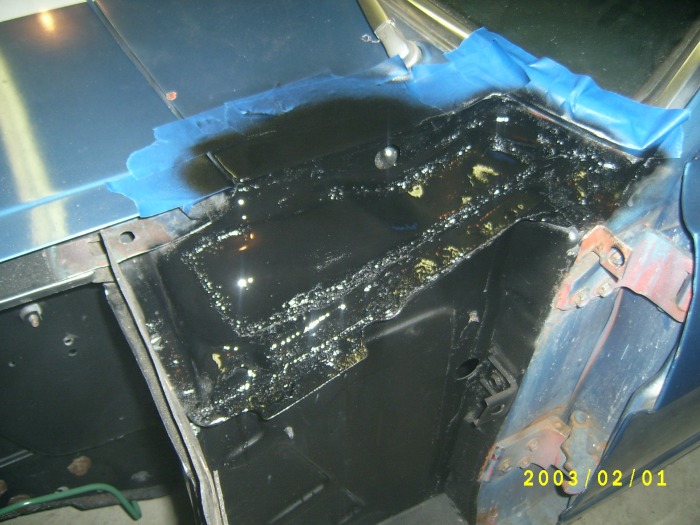
Checking the patch
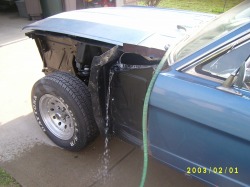
So far so good. I have checked the patch twice so far and not a single drop has made it into the car. I am sure that this won't keep things dry forever but at least until I can get around to the body work. Again, this is not meant to be a perminent fix. In my mind this is a 'just for now' patch. I will re-do this in the future the right way. All of this took me about 5 hours total over 3 days. Now keep in mind I already had the fenders off the car and the interior stripped so that certainly saved me some time. I had all the materials to do the job already.
Total cost = $0.00.
