Looks so good!

When I bought my car I am pretty sure I had the original carpet, it had to be at least 40 years old. It was so old and crappy that it really wasn't even black any more. There were big holes in it and it smelled pretty nasty.
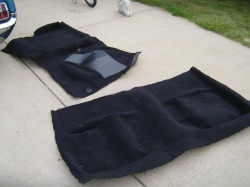
I had not planned on putting in new carpet for some time. My hope was to have the car painted but then the economy tanked so the paint has been put off for a while. Then as luck would have it, I managed to get some new carpet that was installed in someones mustang and it wasn't 'perfect' so they wanted to redo it. I picked this up for half the price of retail. The only problem I found is a slightly to long of a cut that is almost perfectly covered with the transmission selector dial. So... WHAT A DEAL!
I had not planned on putting in new carpet for some time. My hope was to have the car painted but then the economy tanked so the paint has been put off for a while. Then as luck would have it, I managed to get some new carpet that was installed in someones mustang and it wasn't 'perfect' so they wanted to redo it. I picked this up for half the price of retail. The only problem I found is a slightly to long of a cut that is almost perfectly covered with the transmission selector dial. So... WHAT A DEAL!
Installation
Because I have already done the floors, sealed them with KBS, installed my Dynamat, and just completed the Air Duct Insulation my interior was already for carpet before I put it back together. To get the carpet soft and easy to work with, I set it in the sun and let it warm up.
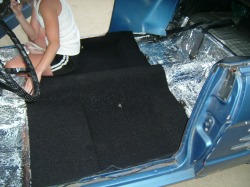
I started with the back piece first and put it into place. I took my time to make sure it all fit nice and tidy. Then I moved on to the front piece. Again I took my time and checked the fit around the floor. Once I had everything in place I then put the foot high beam switch through the carpet. There is a finished place for that. It fit well so I moved on to the transmission selector trim. Again it fit well. So far I have done no cutting! The cutting doesn't need to be done until very close to the end of the project.
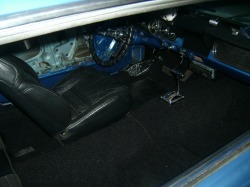
Next I put in the drivers seat. I used a prob to find the seat mounting holes and did the install. When I did this I of course used the seat track carpet brackets that you may or may not have but they did come with your car when new. They are cheap and can be had at any mustang vendor. Doesn't that look great!
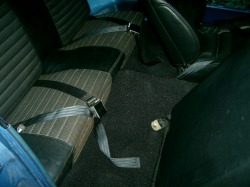
Don't for get to install the seat belts. It is much easier to do that when the seats are out. After the seat belts and passenger seat went in I decided to install the back seat. It might be easier to do the back seat before the front seat but I seldom do things the easy way. Putting in the back seat required putting in the back side panels. This was where I made my first cut. I cut away enough carpet that the side panel fit well and I could get the screws in to the holes. Be cautious here. You can't really put it back after you cut it off now can you?
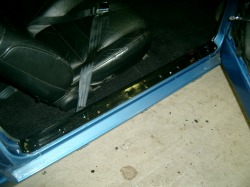
The final cutting was done to make room for my newly painted door sills (see door sill page). I only cut what I needed so that things would fit tight. Now that I was finished I was pretty tired. The whole project took about 4 hours. The seats were a pain to get in. It would be easier with a extra pair of hands so get a friend to help if you can. I think it was it worth the time and effort.
Before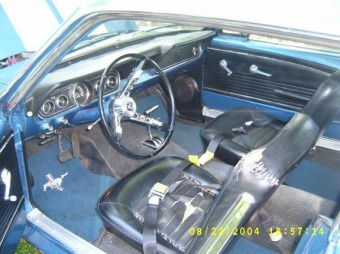 |
After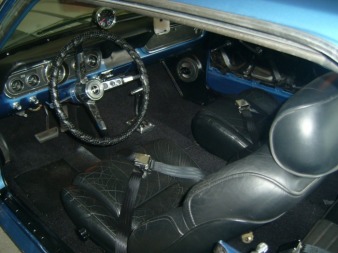 |
