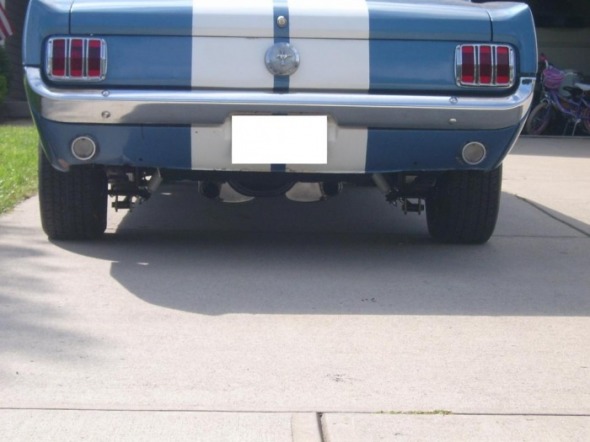
Traction Style - Shelby Style - with a mod!
Alright! Ever since I got my mustang I have wanted to get some of these. I have read lots of positive reviews and some negative review on these but hey they look cool. If Shelby thought they helped then maybe they really do. I will soon find out.
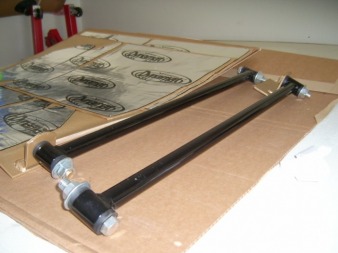
Just a fyi on cost for this project. I had all the materials I needed already. I already had the longer U bolts due to having lowering blocks. I got the traction bars in trade for a set of roller perches which I made for nothing. So for me and the math I am doing, cost = $0.00!! SWEET!
Just a fyi on cost for this project. I had all the materials I needed already. I already had the longer U bolts due to having lowering blocks. I got the traction bars in trade for a set of roller perches which I made for nothing. So for me and the math I am doing, cost = $0.00!! SWEET!
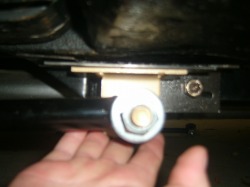
Alright, I jacked up the car and put jack stands underneath the sub frames so there is no weight under the rear end. Then following 'safe steps' I backed up the nuts holding the U bolts that hold the rear end in place on the leaf springs. Added the plate that comes with the traction bars and then tighten up things to the proper torque. Then I put the car back down on all 4 wheels. I allowed the car to settle for some time before I moved on. I also drove it a few times. Not sure this is needed but I figured I was in no rush.
Weld it in?
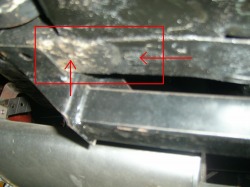
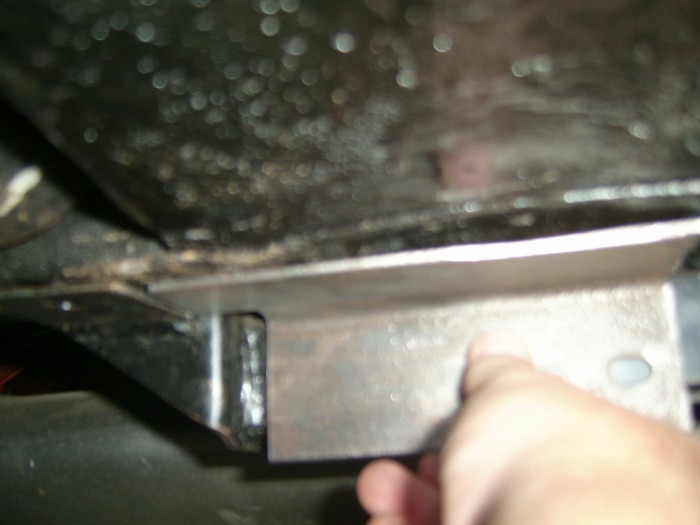
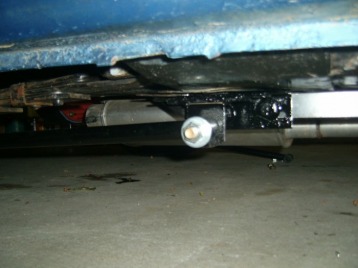
I believe that when this was done originally in the 60s the 2nd mount of the traction bar was welded to the sub frame. This is about where I should weld them in. (see in red) I was not sure I really wanted to weld these in place so I was stumped.
|
 Above is the end that should be weld in place. Welding it makes it 'forever'. If by chance I didn't like these I wanted to be able to remove them.
|
Custom Idea
Basically the mount gets welded to the frame rail and holds things in place when you want traction. I saw a post on a forum some time ago that someone had welded or mounted there traction bars to there sub-frame connectors. I figured I could do the same thing. Make up some brackets and use some high end bolts to keep it all together. Should work I think. So this is how I did it.
Custom Bracket
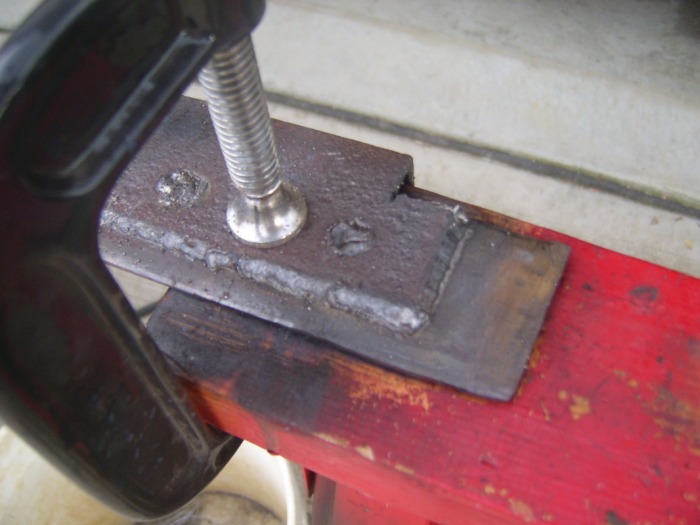
So I managed to get some 2" angle iron from a neighbor. The traction bar mount is 4" long so I cut a 6.5" piece. I then fit it in place on the sub-frame connector and over the frame rail that the mount would weld to.
I found that I had to notch the angle iron to get a snug fit to the sub-frame connector. I also found that the angle iron wouldn't cover the frame rail the mount would weld to. It was short by about a 1" or so. To fix this I used some flat 2" iron and drilled some holes in it and welded it in place (FYI, the holes are for plug welds, makes it much stronger). I welded up all the edges to make sure this bracket was going to cut the mustard! This started to look like something that might work. Always measured 2 or three times before I cut or welded. Once I was finished that I used a clamp and held the back in place where I would need it to be and drilled out 2 holes that went through the bracket and through the sub-frame connectors. This allowed me to use my grade 8 1/2 bolts with lock washers to hold the bracket in place for the next step. With the bracket in place on the sub-frame connector you can see how the top of the bracket covers the frame rail where I am going to weld the mount for the traction bars. So far so good! (pictures on right are from drivers side) |
|

|
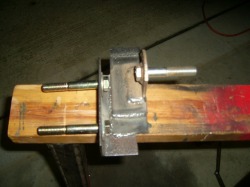
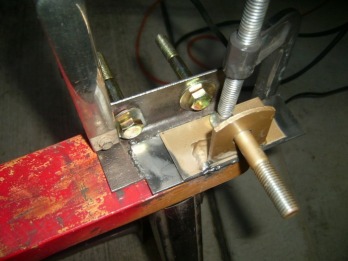
I then put the bar in place. i snugly secured the end of the bar that would go in the bracket that is under the rear end and then put the mount in place. I then clamped it in place on the bracket so I had things square and correct. (FYI the car is sitting on its tires for this install)
Now it was time to put a couple of spot welds on to hold things together. I removed the bracket and welded everything up solid. Allowed to cool and painted. (drivers side shown) |
|


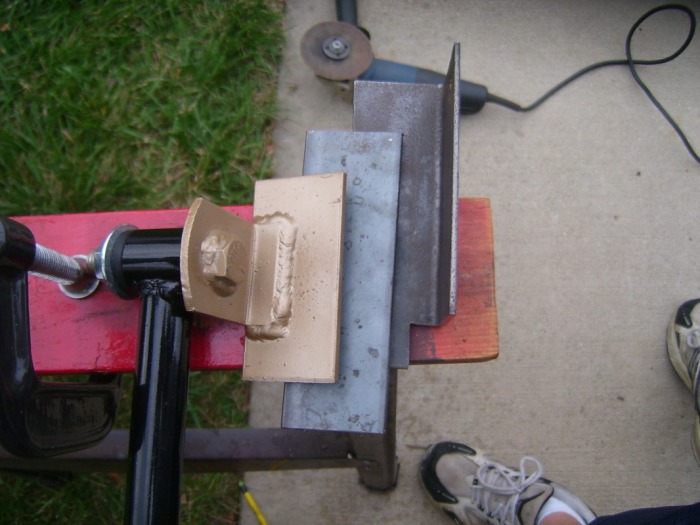
set up before welding
This is how things looked when I removed the bracket after doing a couple of spot welds to keep things in place. (Passenger side bracket show)
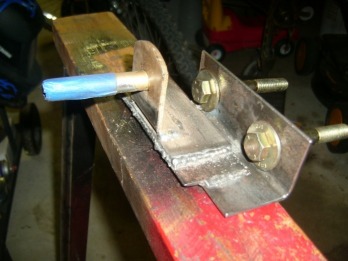
One thing I did, and I am glad I did, was leave the bolts that secure the bracket to the sub-frame connector in the bracket. The bolt behind the mount won't come out because it will hit the mount bolt. Next time I might move the bolt a 1" or so to the side to avoid this. Not sure it is really a problem though.
|

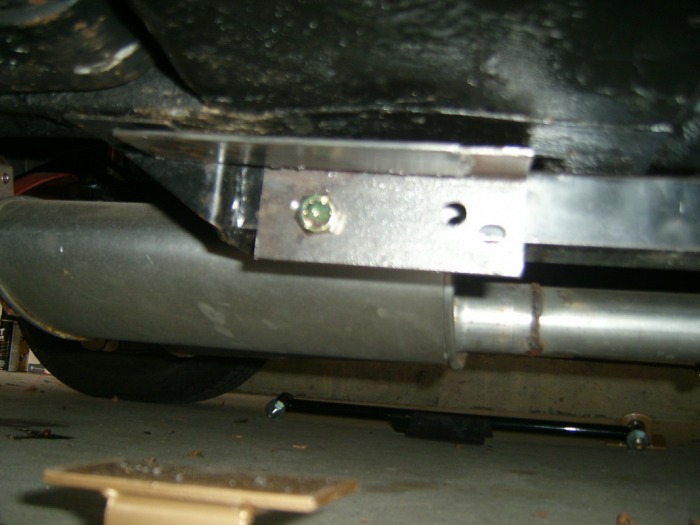
I used a wire wheel to clean things up really nice and then gave the brackets a shot of Rustoleum. Once the paint was dry it was time for final assembly.
|
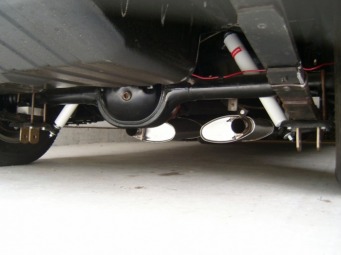
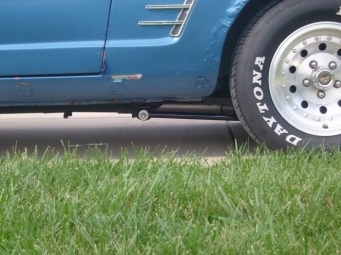
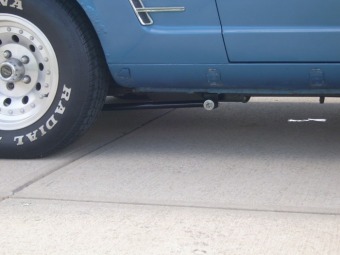
Looks good!
Final installation is pretty basic. Put the bars in the mount bracket and in the spring bracket. Install the bolts that came with the bars, everything should line up perfect if you did a good job. Tighten up plus 1/4 turn, not to over tighten.
This should really help at the track. I will find out in the spring and let you know how it goes.
Enjoy!
Cost $0.00
(I traded for the new bars and had all the materials handy)
This should really help at the track. I will find out in the spring and let you know how it goes.
Enjoy!
Cost $0.00
(I traded for the new bars and had all the materials handy)
 |
 |