This is a borrowed idea from FordMuscle members DazeCars and OpenTrackerRacing as well as the FordMuscle article "Track Tricks". I ordered 3 sets of the DIY roller perches from DazeCars. He offers rebuild kits for guys that want to fab up there own. So here's how I did it.
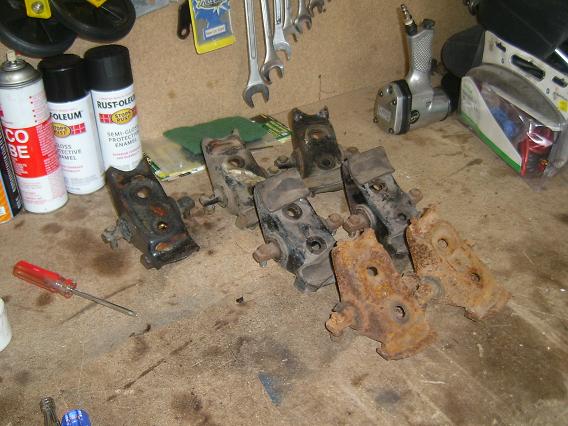
He shipped them out to me and was very good to deal with. He also has a step by step web site that I followed to do my perches but I had to do a few things differently due to my not having the same tools as him, plus I like to keep a play by play of the things I do. Anyway at the same time I put out a couple of posts for some used donor perches. I got 3.5 sets right away.
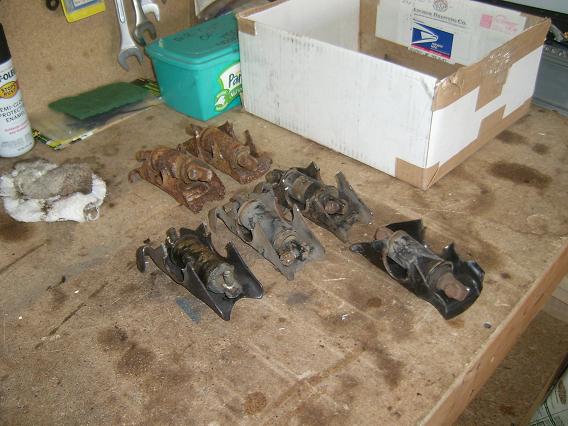
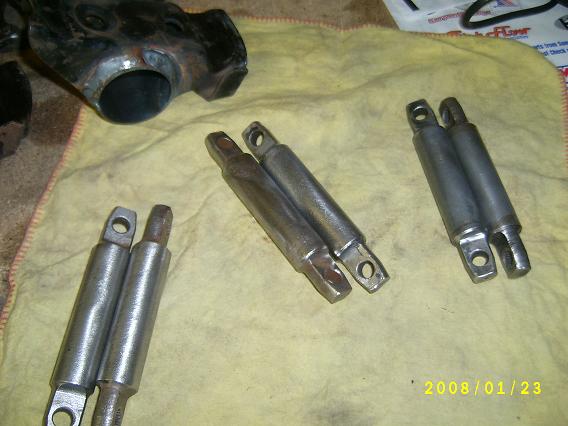
One set was not in any condition for this project so they were for practice only. Be sure to inspect your perches to make sure that they are solid and not cracked or damaged in anyway. You want top notch perches for this project. To make my write up brief I will only note the steps I did differently over what Daz has on his web site I got the bearings out and cleaned them up
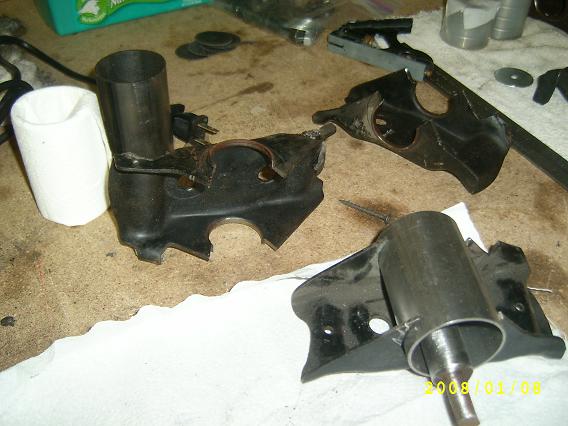
Then I took the tubing and placed it on the perch. I used a scribe (a nail works to) to trace the line that I needed to cut.
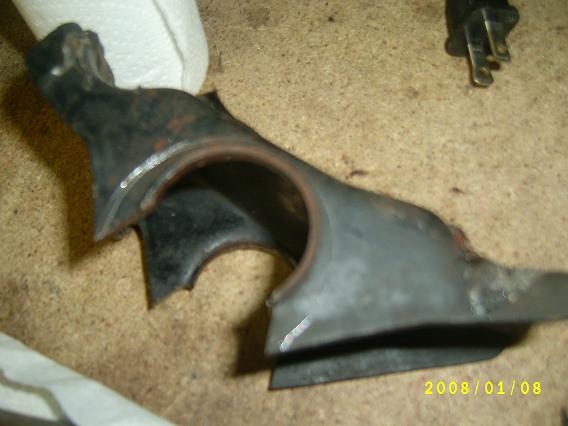
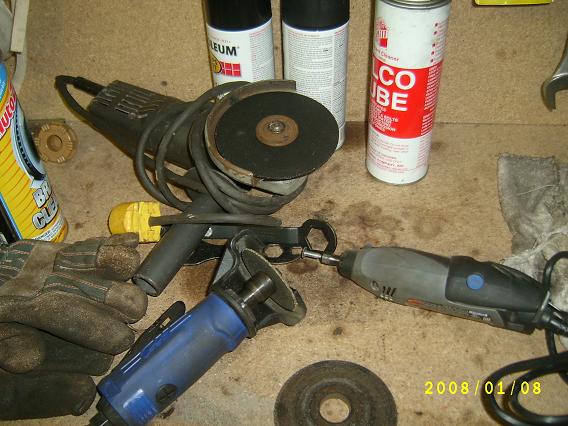
Now I have a drill press and a hole saw blade but it did not work very well at all. So I decided to use my side grinder and my dremel.
I started but using the side grinder to take out the big area with in the line then when all of that was done I used my drumell to do the fine work. Believe it or not this worked very well and only took about 15 min a perch to do. Test fit the tubing as you go.
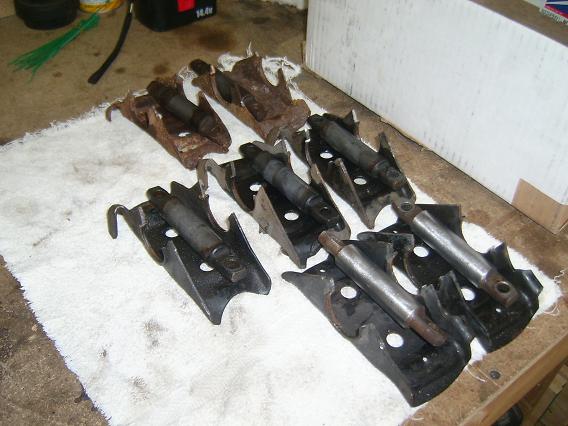
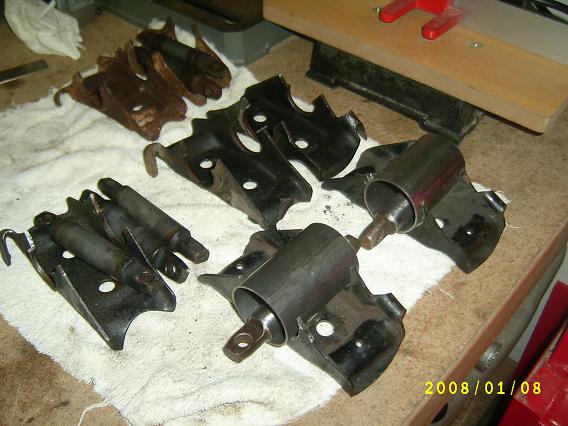
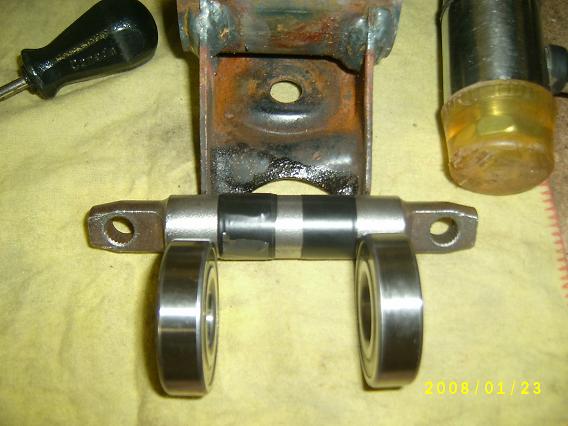
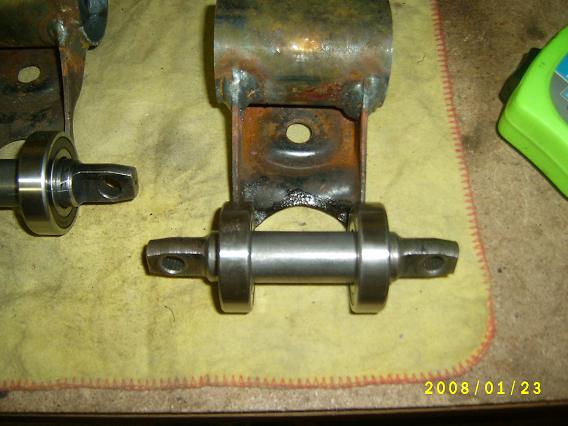
OK. I am still short one set of perches but I did get the other two sets welded. They came back looking good. The welds are awesome. This is one thing that if you are not 100% capable then source it out. I punched the shaft and put on the bearing as per Daze’s instructions.
OK. I am still short one set of perches but I did get the other two sets welded. They came back looking good. The welds are awesome. This is one thing that if you are not 100% capable then source it out. I punched the shaft and put on the bearing as per Daze’s instructions.
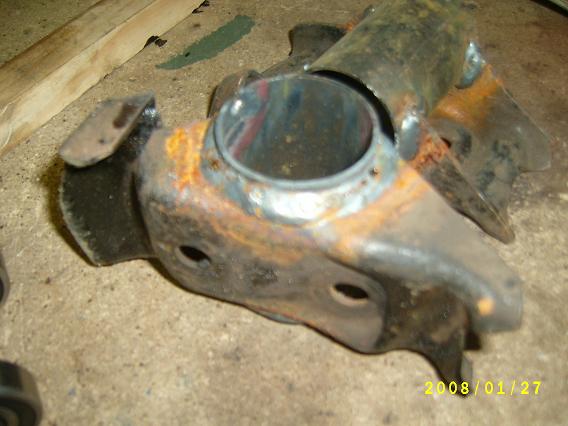
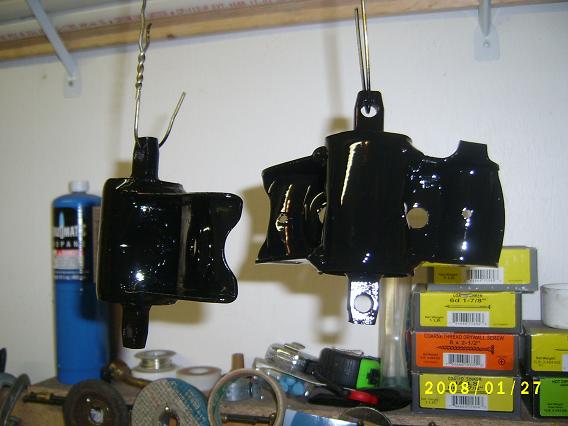
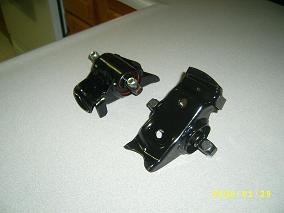
Now I had to hone the inside of the bearing journal/tube. I started with some grinding stones. They worked but it was very slow moving. I grabbed my drumel with a cutting wheel and used that. This went much faster and was much more precise. The finish inside the tube is mirror smooth. Be sure to stop and check the fit often. Once I was able to slide the bearings in on one side I would flip the perch and check the fit on the other side. I made sure that the bearing fit but was not at all loose. Snug but it will slide through. Once I had the fit I took and primed the perches. Once dry I fit the bearing and followed Daze’s instructions. Painted black with gloss black rustoleum paint and added the bolts, nuts, and rubber saddle pads (I reused the saddle pads from the donor perches). They are finished!